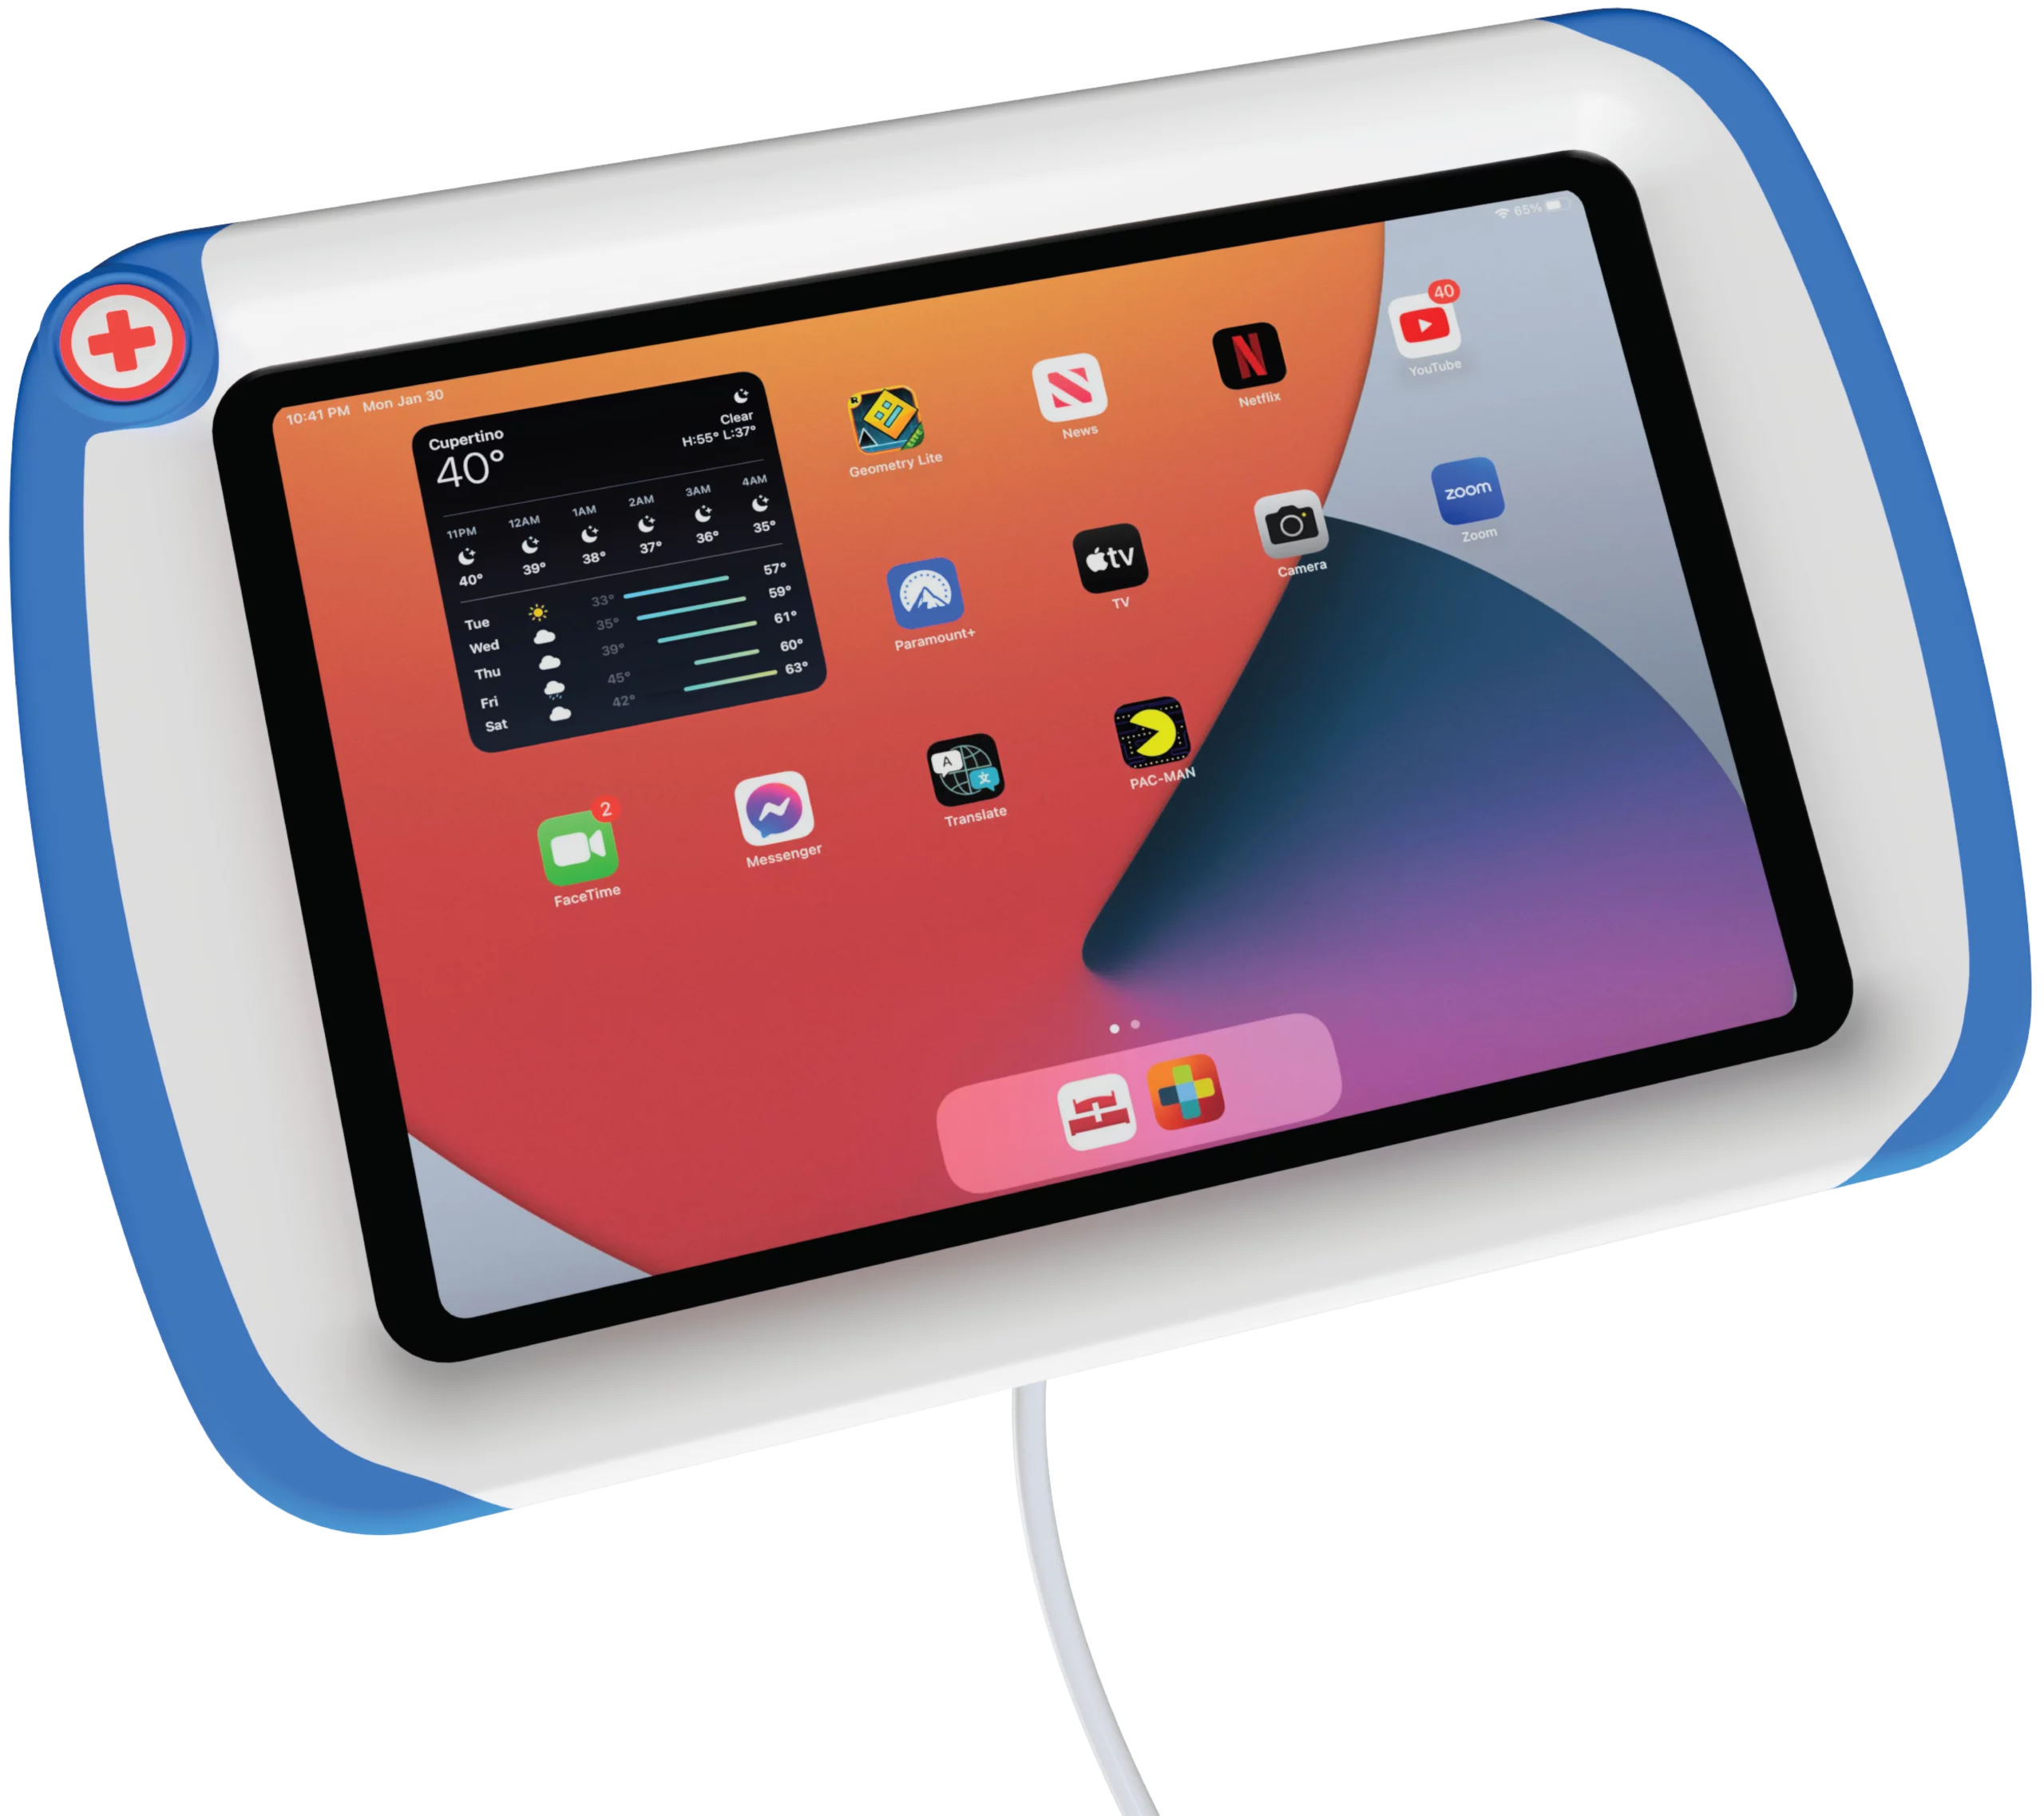
Upgrade existing signage with iPads
Upgrade existing signage with iPads
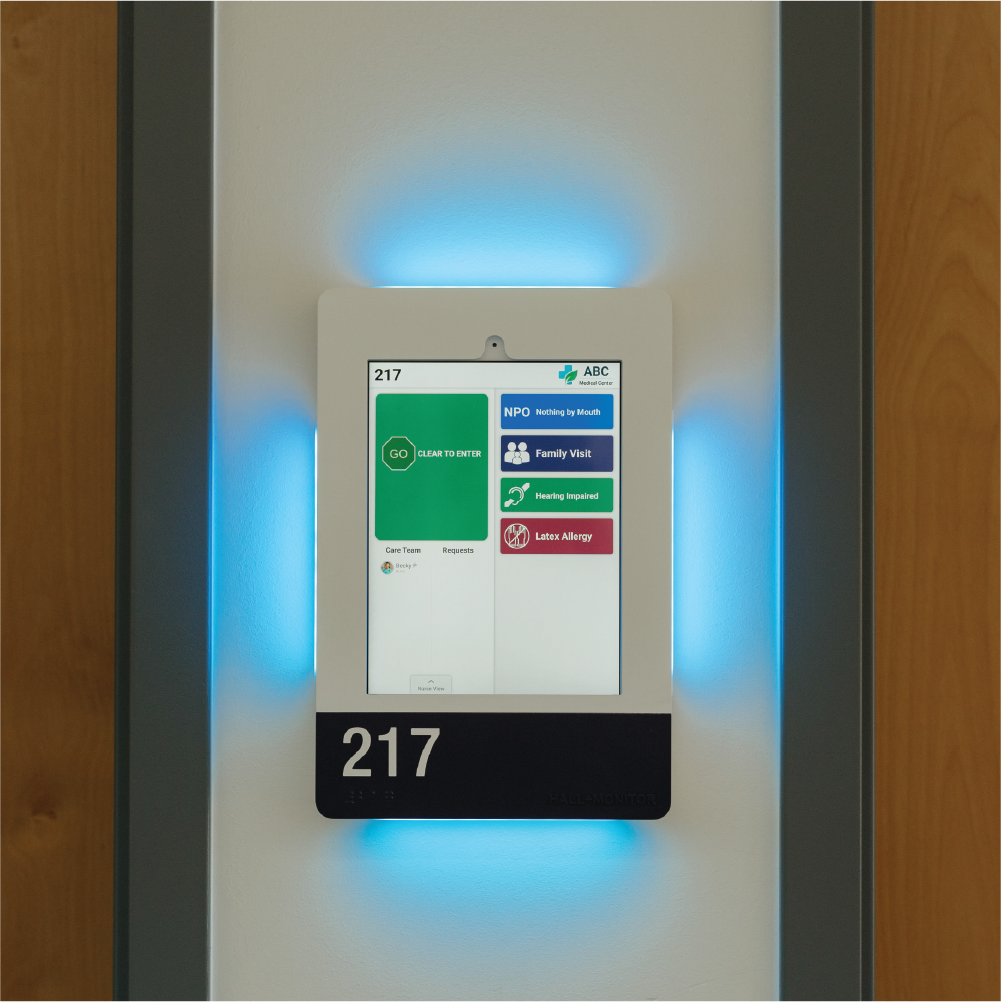
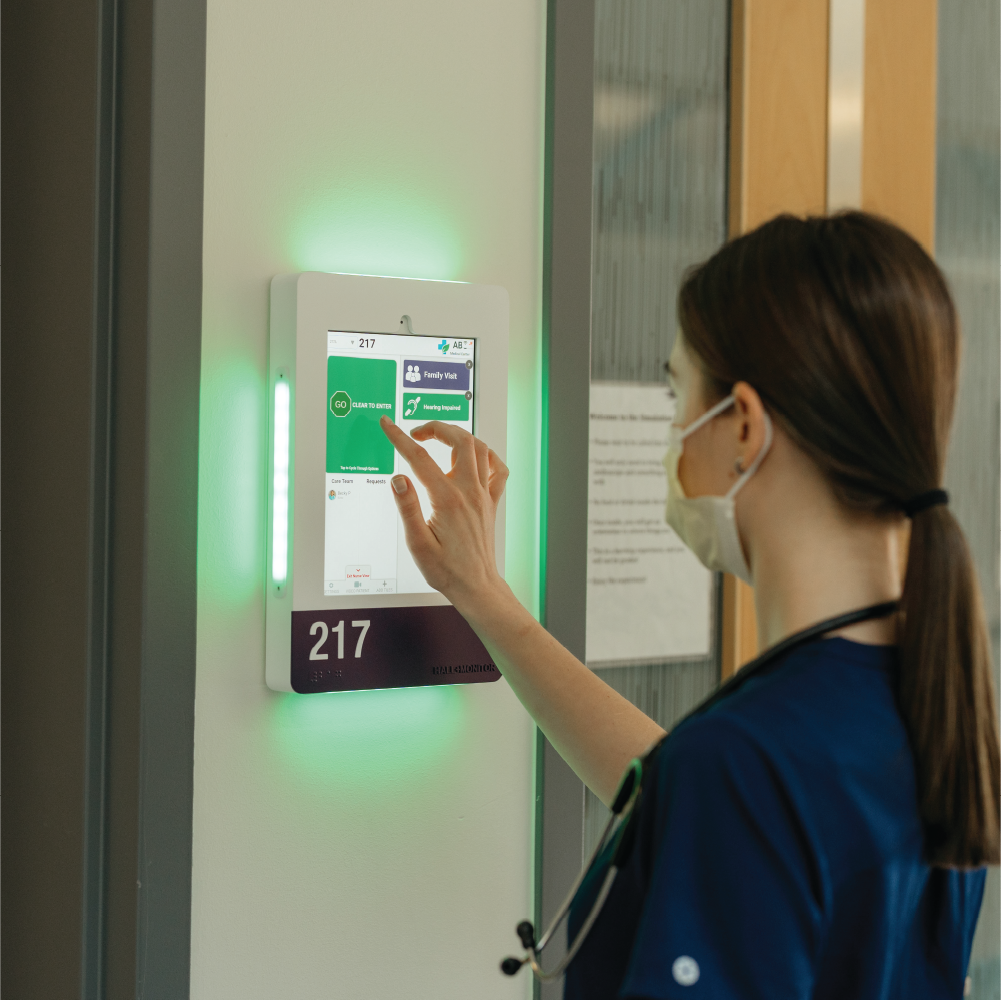
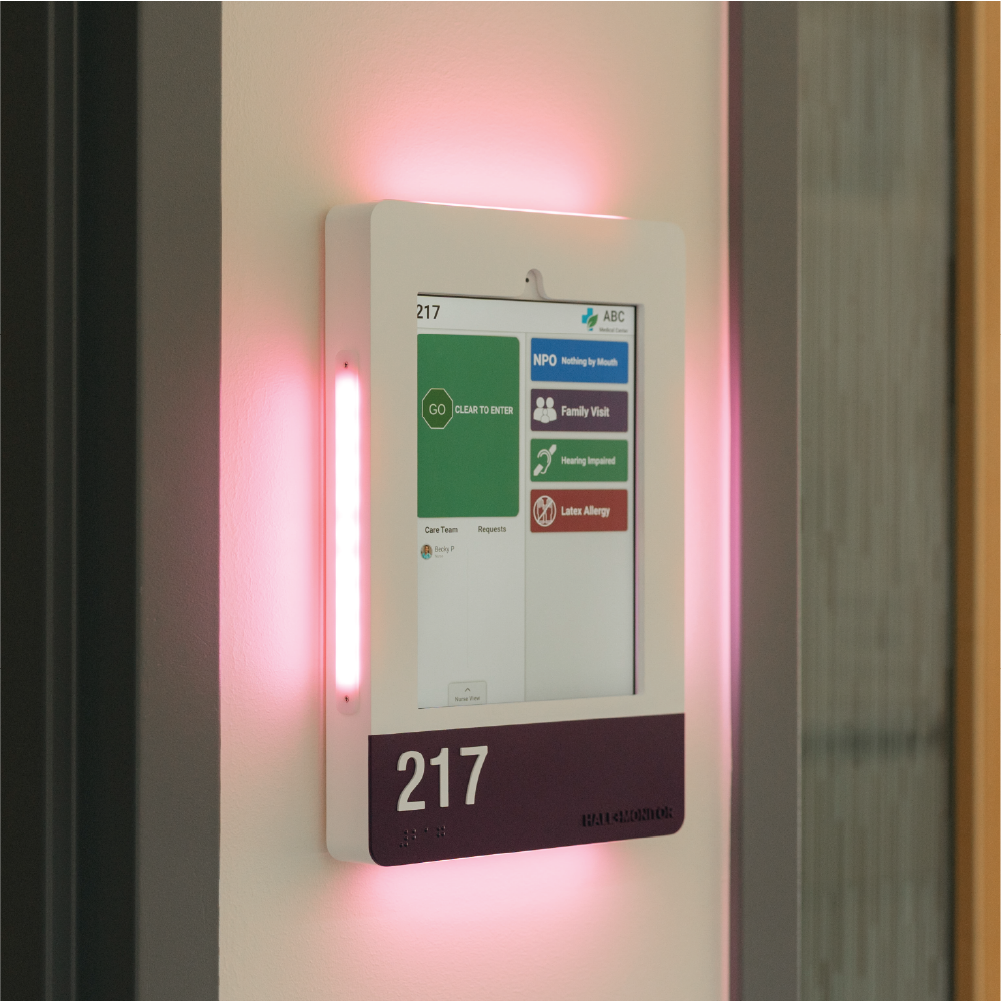
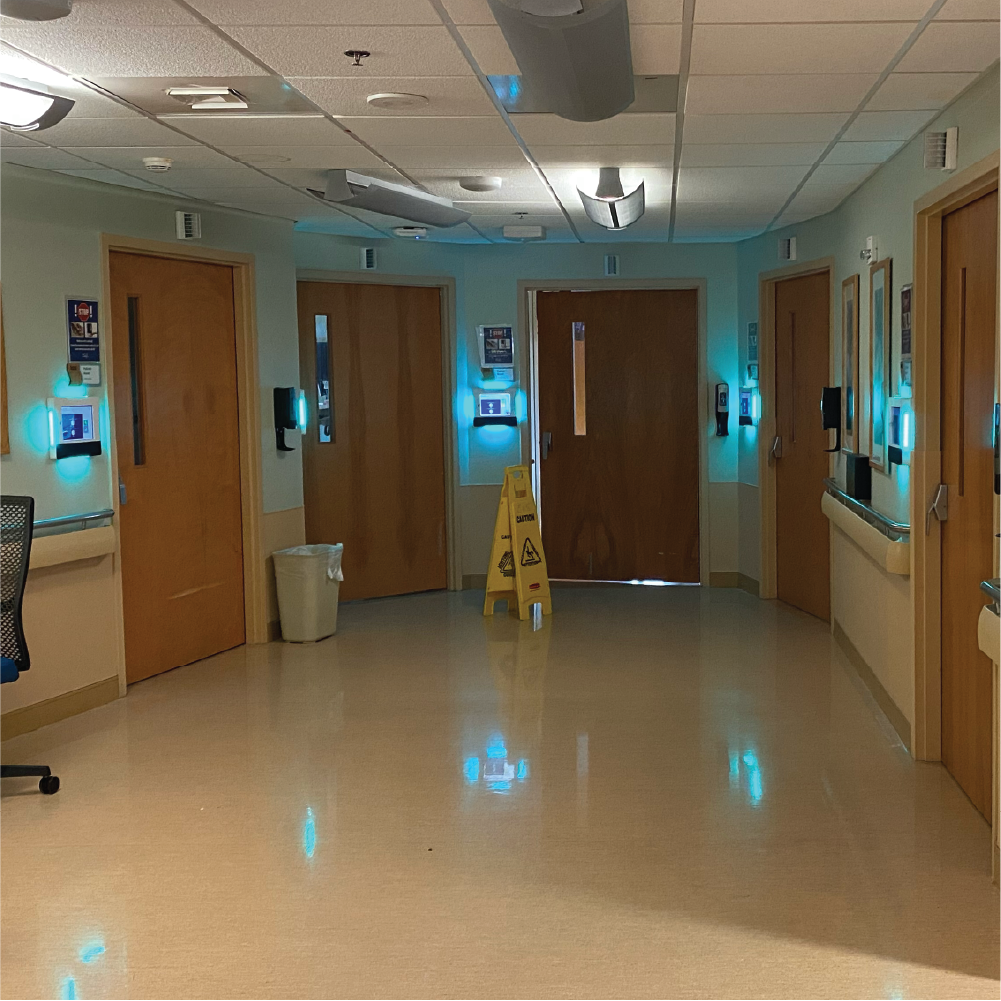
- Patient info is continuously EMR updated during the patientʼs stay and immediately erased after discharge
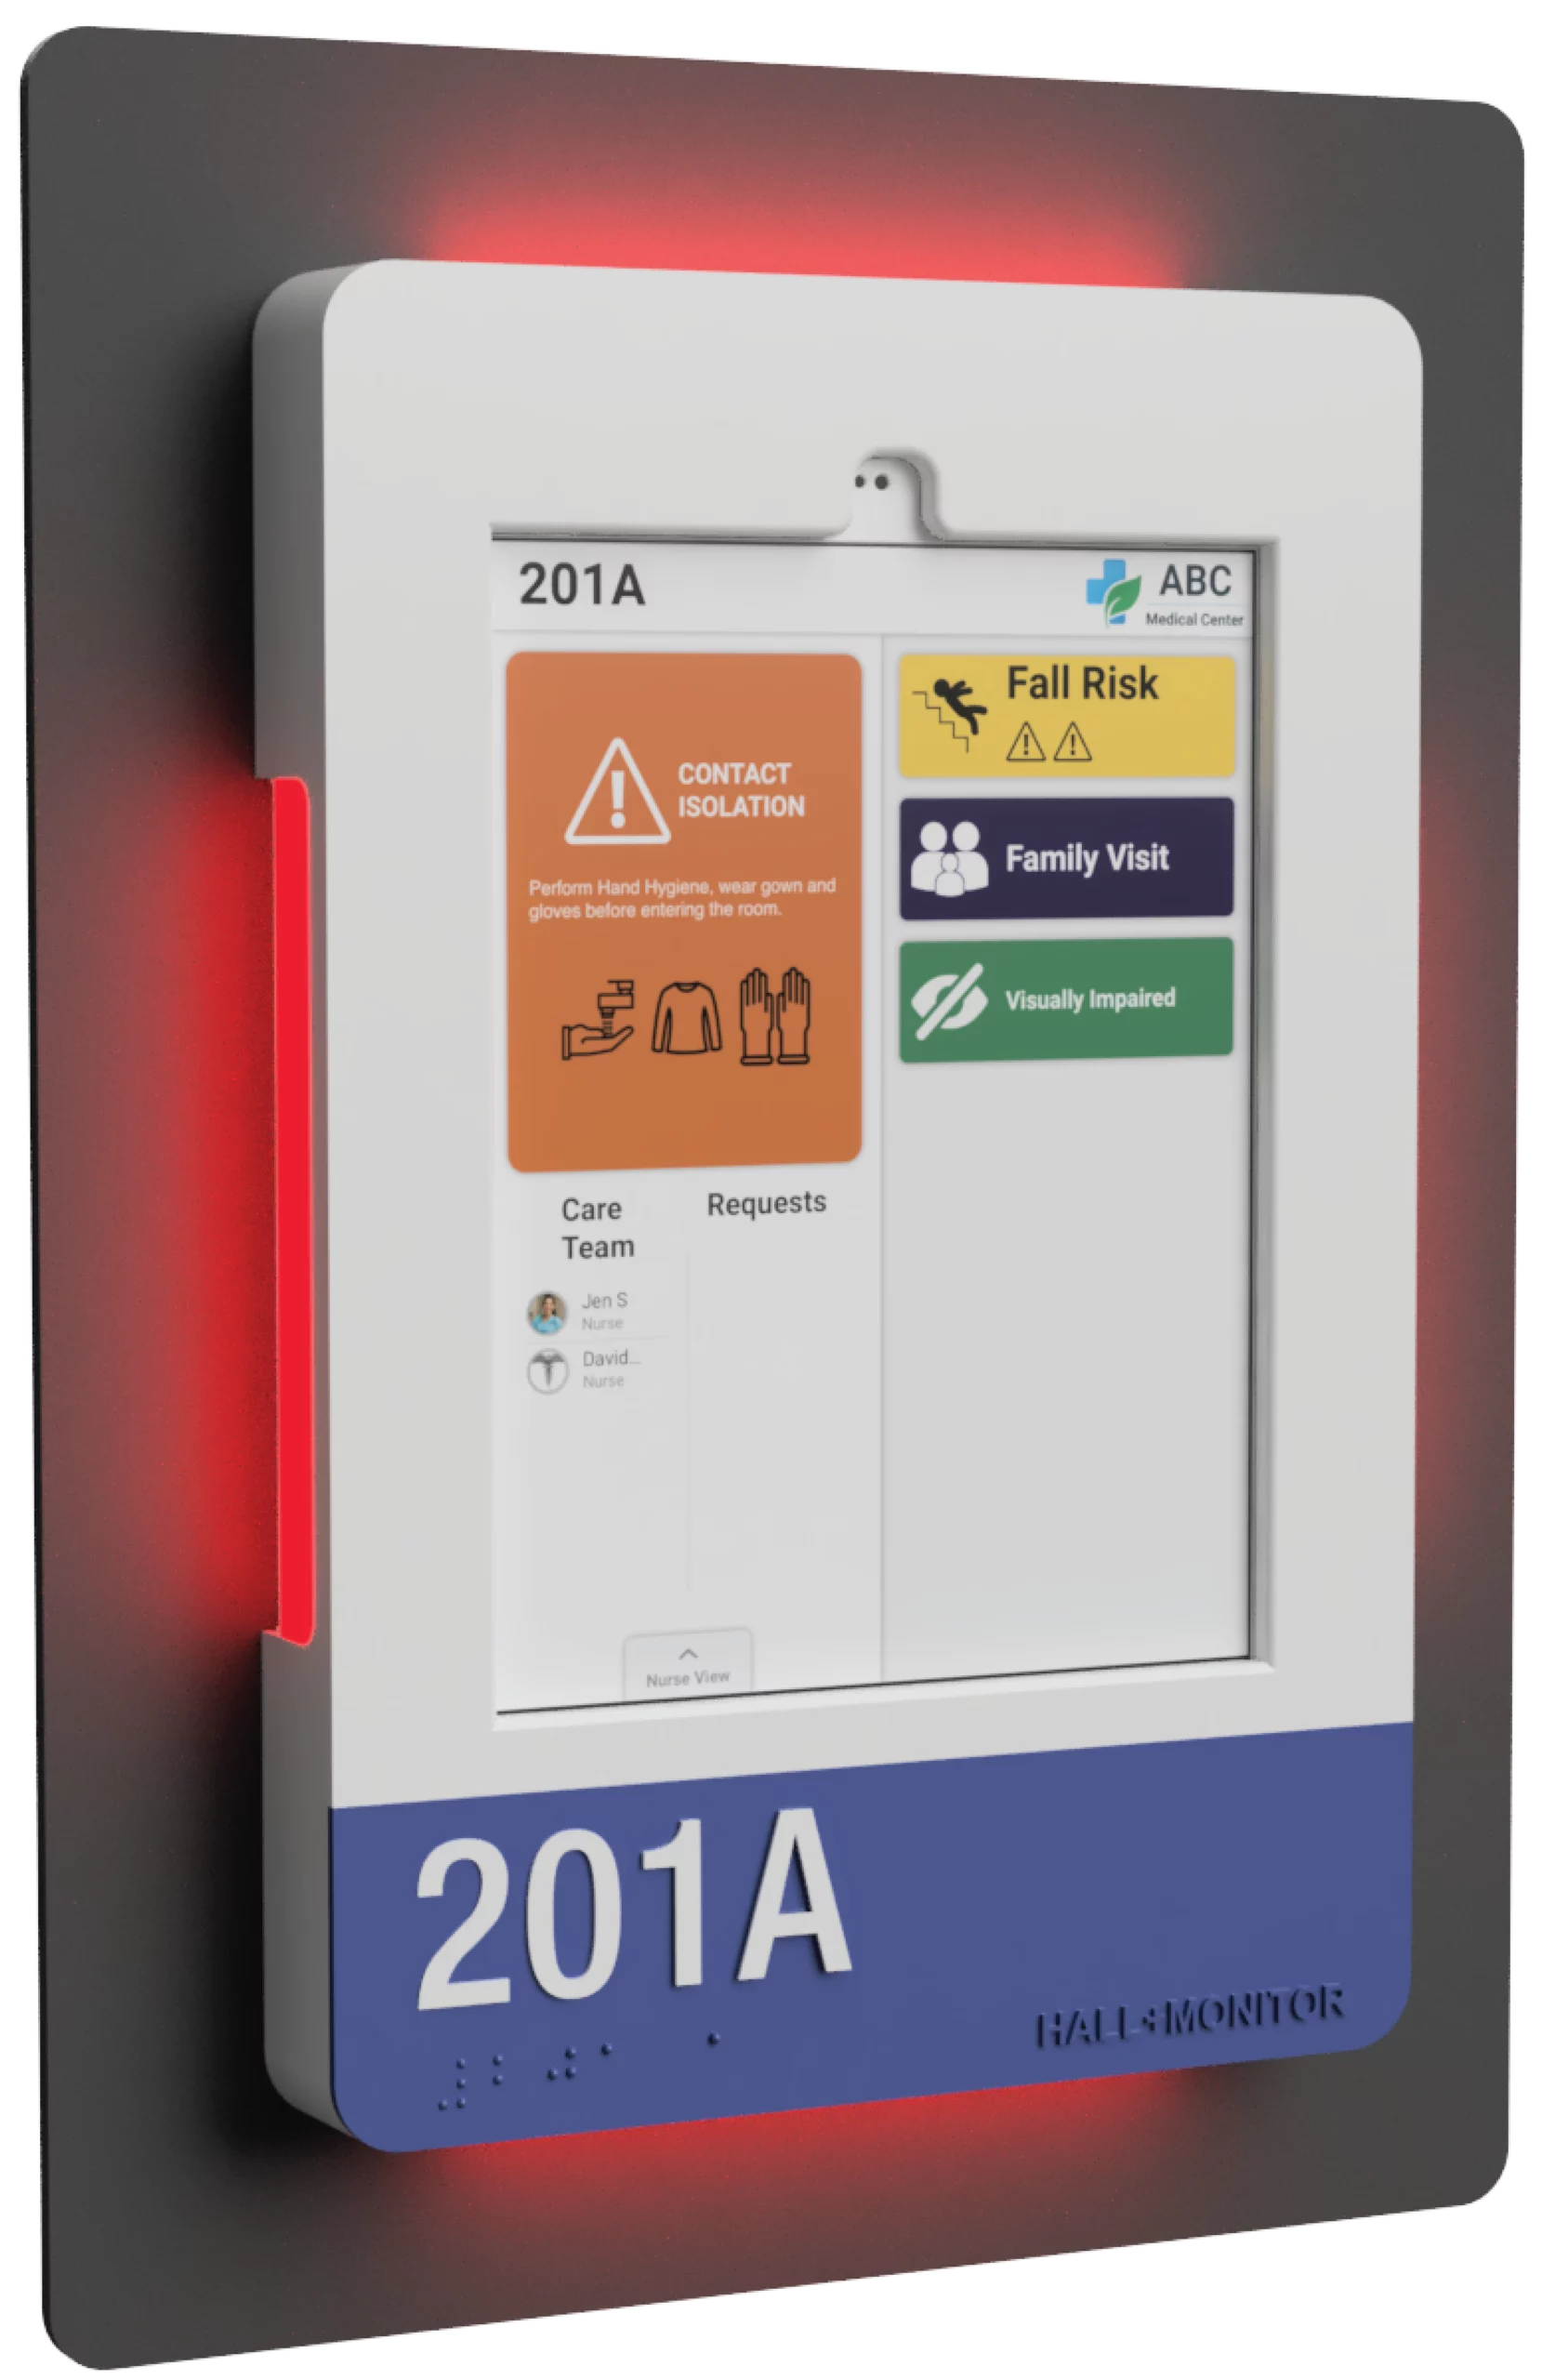
- Contextual illumination streamlines workflows, and can be set to any color, pattern or status - from isolation precaution to care team presence in the room
- ADA compliant Grade 2 Braille and raised room numbers are custom manufactured for each project
- HallMonitor can be customized to match your facilityʼs design style perfectly - all while being UL certified and FDA registered
HallMonitor Features
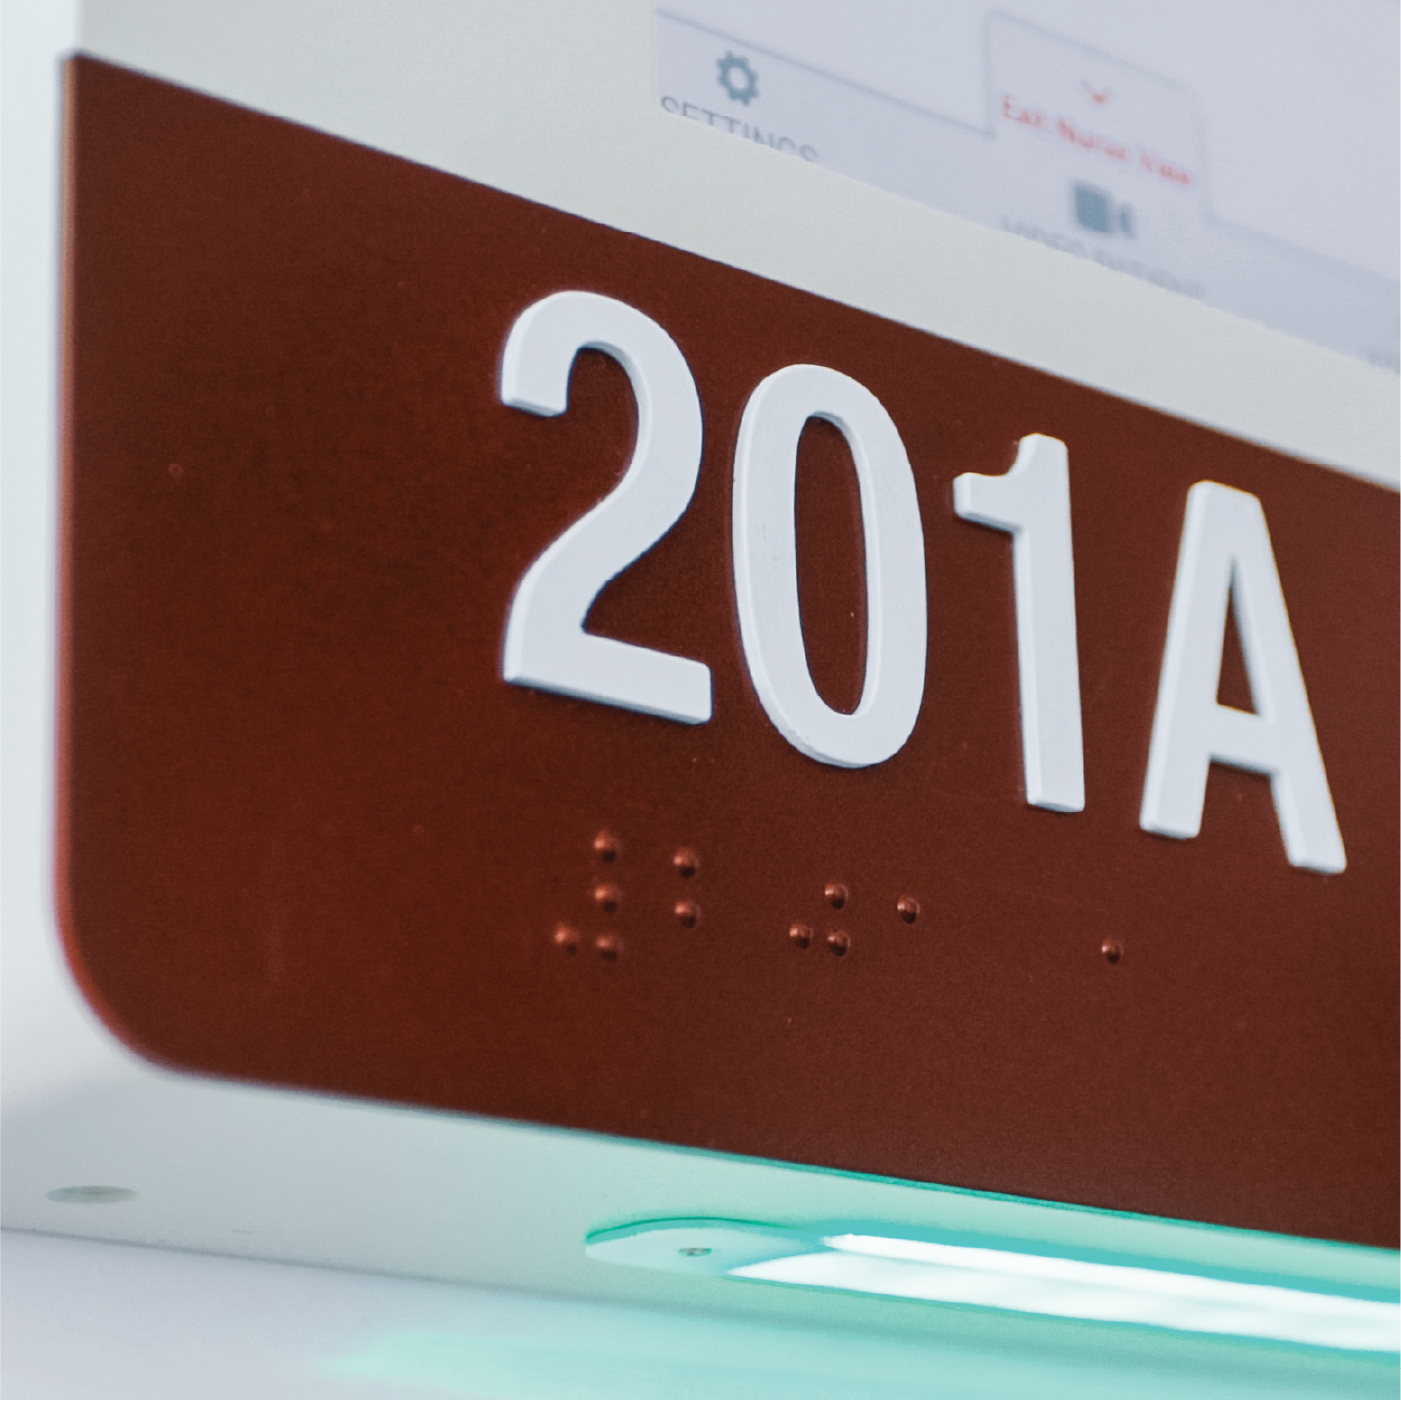
Grade 2 ADA Braille & raised room numbers
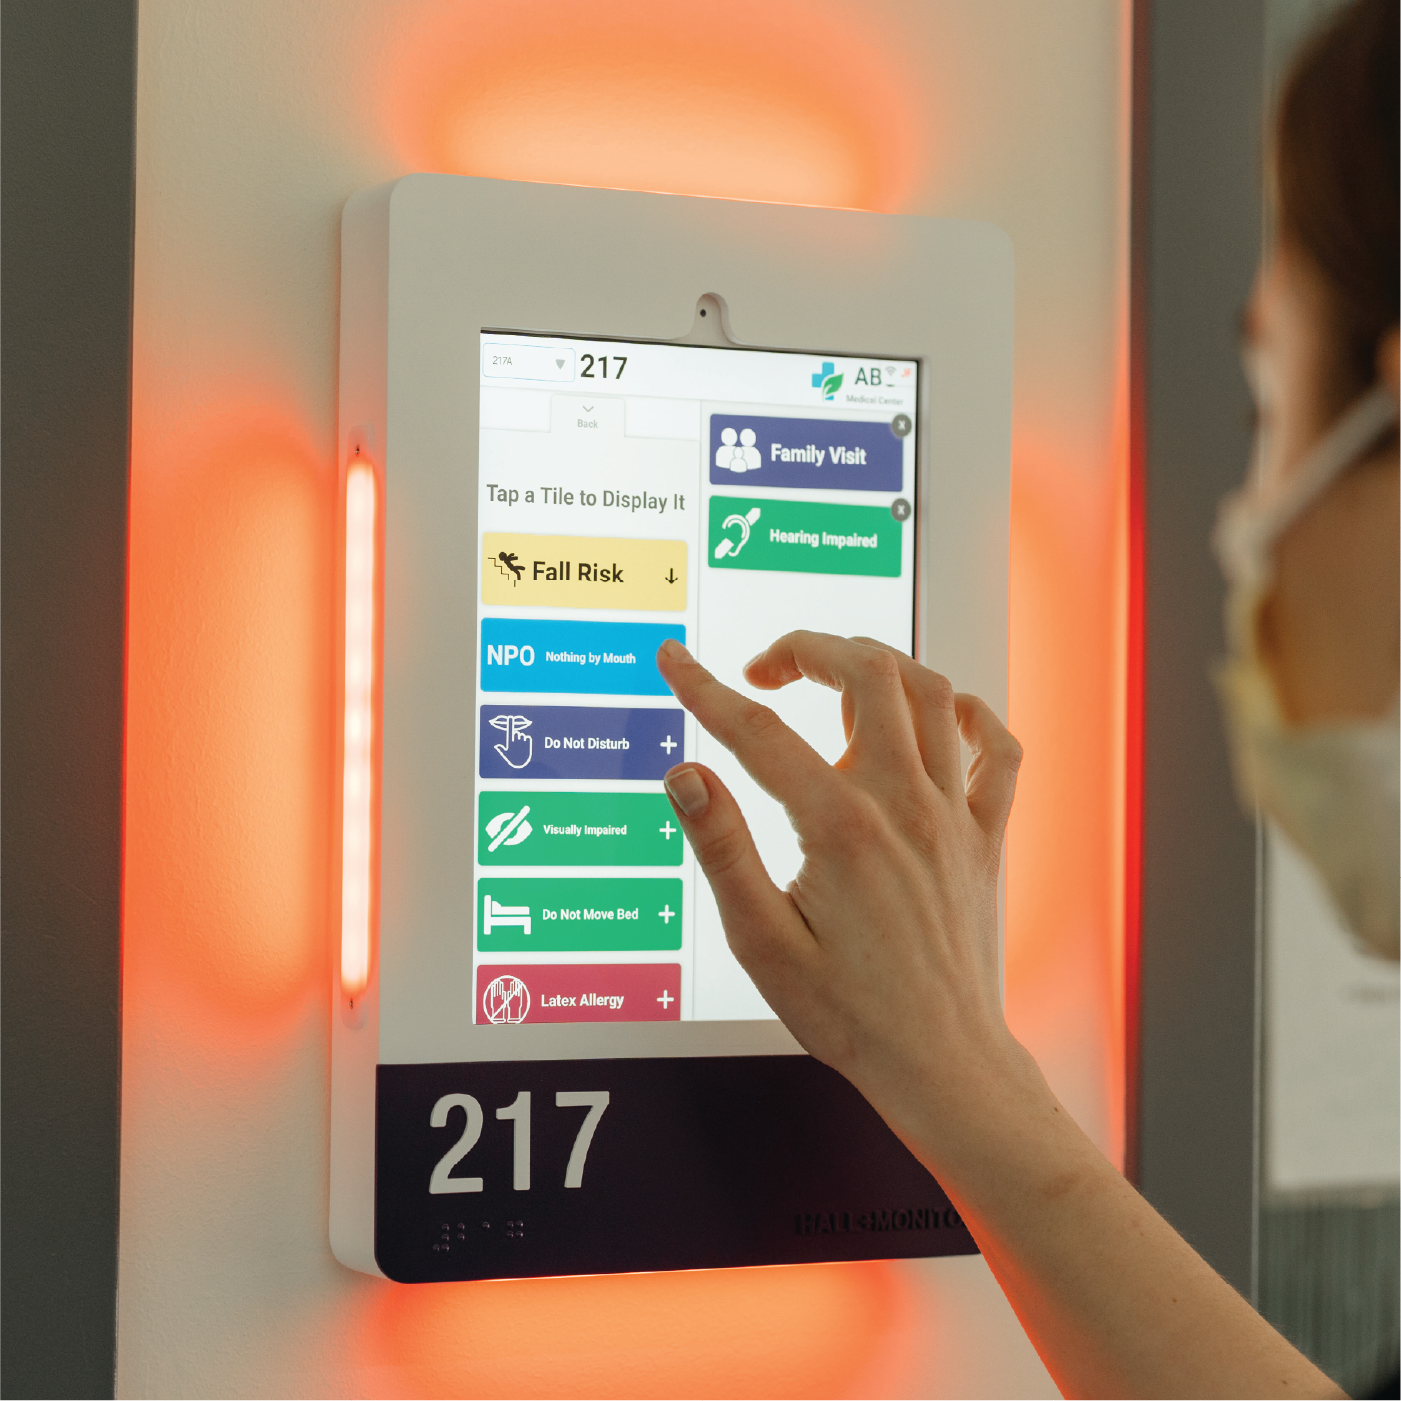
Optional on-device editing alongside EHR updates
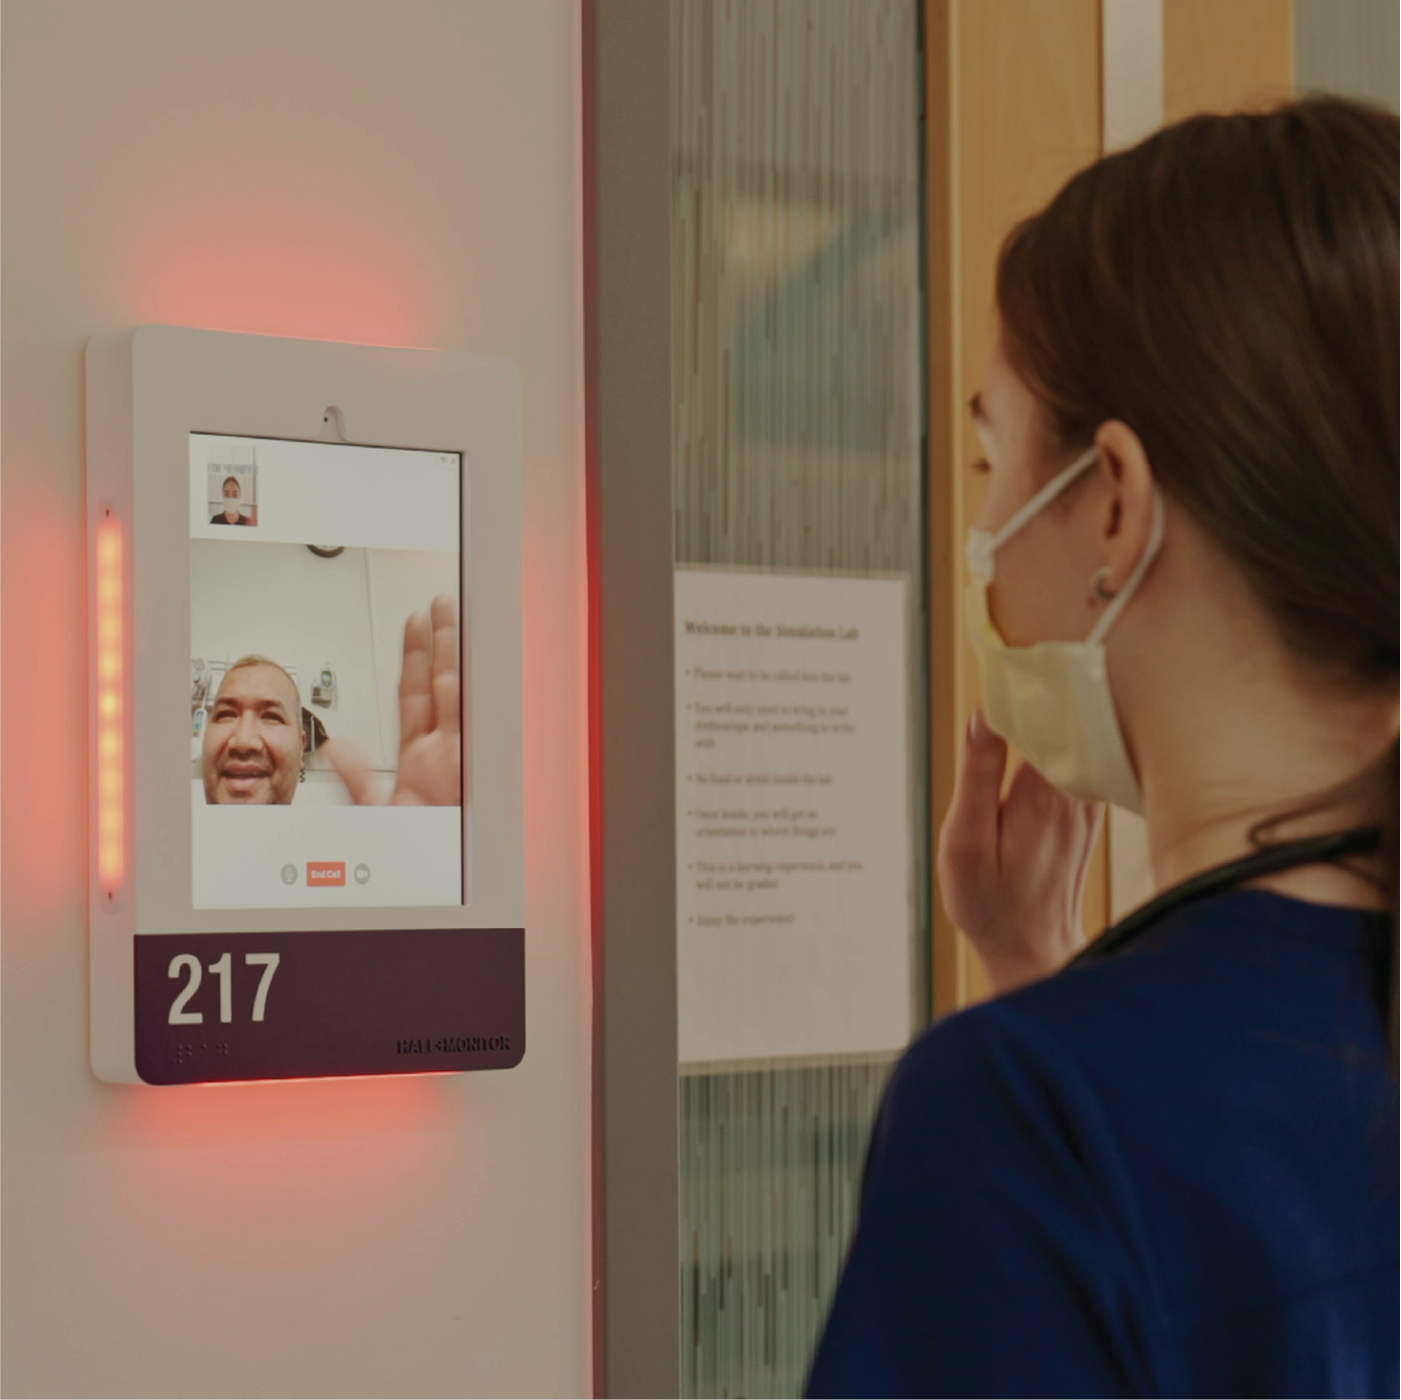
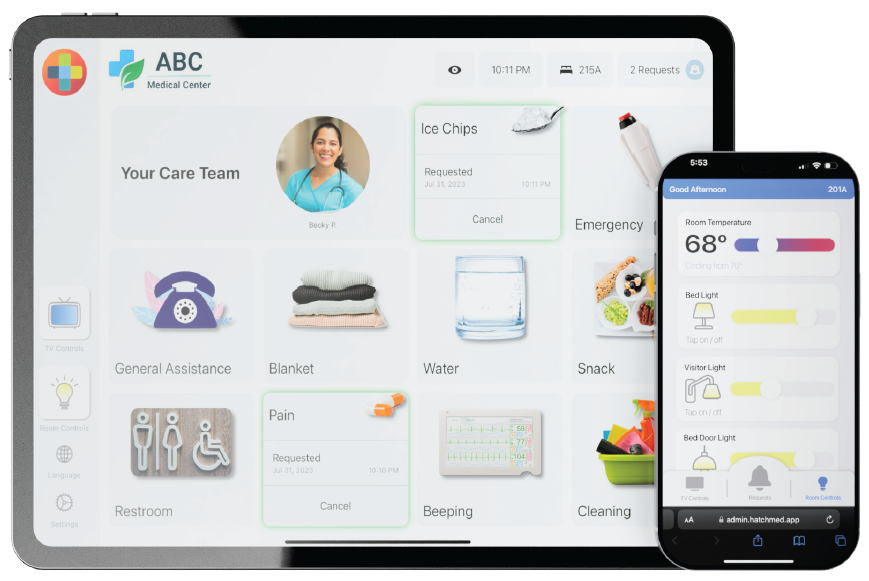
Built in 2-way video calling with the patient
Which iPads work with HallMonitor?
iPad 7th, 8th & 9th Gen (10.2”) – Standard
iPad Air 3rd, 4th & 5th Gen
iPad Pro 10.5”, 11” and 12.9”
Which EHR systems are supported?
Most EMR systems are compatible with HallMonitor – Epic, Cerner, Allscripts, Athenahealth and others.
How is HallMonitor powered?
A single PoE+ connection is all that’s required to power the lights and the iPad. Alternatively a 12V connection can be used if wired Ethernet is not required.
What are the customization options?
Choice of color and finish for the enclosure and the number plate, font and room number selection.
How do I clean HallMonitor?
Avoid using alcohol as that can degrade the paint. Standard hospital surface wipes work best, be sure to wipe off excess residue to avoid it building up over time.
Can I display my own custom alerts?
Yes, each alert can have its title, color, text, priority and icon edited.
iPad 7th, 8th & 9th Gen (10.2”)
iPad Air 3rd, 4th & 5th Gen
iPad Pro 10.5”, 11” and 12.9”
Weight (10.2”)
1.9 lb (without iPad)
3.0 lb (with iPad)
Dimensions (Vertical 10.2”)
8.63” Width x 12.96” Height x 1.32” Depth
Dimensions (Horizontal 10.2”)
12.09” Width x 10.74” Height x 1.42” Depth
Connection & Charging
1.9 lb (without iPad)
12V @ 3A (WiFi & power)
Power Draw
Peak: ~20W (iPad fast charging)
Standard operation: ~15W
UV resistant painted ABS body & Lexan illumination panels
Illumination
RGBW LED panels on all sides, support for varied brightness and patterns
iPad Features
WiFi, Bluetooth, cameras, speakers, microphones and screen not affected
Regulatory
UL/cUL IEC 62368-1:2014 & FDA Registered Medical Device, Class 2 Exempt
Patents
US20210051223A1
US20220051532A1
PoE+ Install
Start by installing the GAT-IW PoE+ splitter outside the patient room, around 48” to 54” above the floor. Ensure there is enough room around it for the HallMonitor enclosure to mount over it.
Secure the back panel of the HallMonitor enclosure to the wall, with the GAT-IW being centered in the cutout. Connect the exposed USB and Ethernet cables into the GAT-IW, at which point you should see the LEDs illuminate a soft white.
Place the iPad inside the back panel and press into place. Carefully plug in the charging cable and verify that the iPad begins charging and is connected to Ethernet. Slide the top cover down at an angle and rotate into place, securing with two screws at the bottom.
12V Install
Terminate 12V power lines around 48” to 54” above the floor. Ensure there is enough room around them for the HallMonitor enclosure to mount over top.
Secure the back panel of the HallMonitor enclosure to the wall, with the power cables being centered in the cutout. Connect the power source 12V wire pair to the pre-terminated wires in the HallMonitor using the enclosed wire nuts. Be sure to match the power cable to the appropriate + / – receiving wire on the HallMonitor to avoid shorting the circuitry.
Place the iPad inside the back panel and press into place. Carefully plug in the charging cable and verify that the iPad begins charging and is connected to Ethernet. Slide the top cover down at an angle and rotate into place, securing with two screws at the bottom.
Which iPads work with HallMonitor? iPad 7th, 8th & 9th Gen (10.2”) – Standard iPad Air 3rd, 4th & 5th Gen iPad Pro 10.5”, 11” and 12.9”
Which EHR systems are supported? Most EMR systems are compatible with HallMonitor – Epic, Cerner, Allscripts, Athenahealth and others.
How is HallMonitor powered? A single PoE+ connection is all that’s required to power the lights and the iPad. Alternatively a 12V connection can be used if wired Ethernet is not required.
What are the customization options? Choice of color and finish for the enclosure and the number plate, font and room number selection.
How do I clean HallMonitor? Avoid using alcohol as that can degrade the paint. Standard hospital surface wipes work best, be sure to wipe off excess residue to avoid it building up over time.
Can I display my own custom alerts? Yes, each alert can have its title, color, text, priority and icon edited.
Supported iPads iPad 7th, 8th & 9th Gen (10.2”) iPad Air 3rd, 4th & 5th Gen iPad Pro 10.5”, 11” and 12.9”
Weight (10.2”) 1.9 lb (without iPad) 3.0 lb (with iPad)
Dimensions (Vertical 10.2”) 8.63” Width x 12.96” Height x 1.32” Depth
Dimensions (Horizontal 10.2”) 12.09” Width x 10.74” Height x 1.42” Depth
Connection & Charging 1.9 lb (without iPad) 12V @ 3A (WiFi & power)
Power Draw Peak: ~20W (iPad fast charging) Standard operation: ~15W
Materials UV resistant painted ABS body & Lexan illumination panels
Illumination RGBW LED panels on all sides, support for varied brightness and patterns
iPad Features WiFi, Bluetooth, cameras, speakers, microphones and screen not affected
Regulatory UL/cUL IEC 62368-1:2014 & FDA Registered Medical Device, Class 2 Exempt
Patents US20210051223A1 US20220051532A1
PoE+ Install
Start by installing the GAT-IW PoE+ splitter outside the patient room, around 48” to 54” above the floor. Ensure there is enough room around it for the HallMonitor enclosure to mount over it.
Secure the back panel of the HallMonitor enclosure to the wall, with the GAT-IW being centered in the cutout. Connect the exposed USB and Ethernet cables into the GAT-IW, at which point you should see the LEDs illuminate a soft white.
Place the iPad inside the back panel and press into place. Carefully plug in the charging cable and verify that the iPad begins charging and is connected to Ethernet. Slide the top cover down at an angle and rotate into place, securing with two screws at the bottom.
12V Install
Terminate 12V power lines around 48” to 54” above the floor. Ensure there is enough room around them for the HallMonitor enclosure to mount over top.
Secure the back panel of the HallMonitor enclosure to the wall, with the power cables being centered in the cutout. Connect the power source 12V wire pair to the pre-terminated wires in the HallMonitor using the enclosed wire nuts. Be sure to match the power cable to the appropriate + / – receiving wire on the HallMonitor to avoid shorting the circuitry.
Place the iPad inside the back panel and press into place. Carefully plug in the charging cable and verify that the iPad begins charging and is connected to Ethernet. Slide the top cover down at an angle and rotate into place, securing with two screws at the bottom.


